Remove Backgrounds and Upscale Images for Laser, CNC, and Vinyl
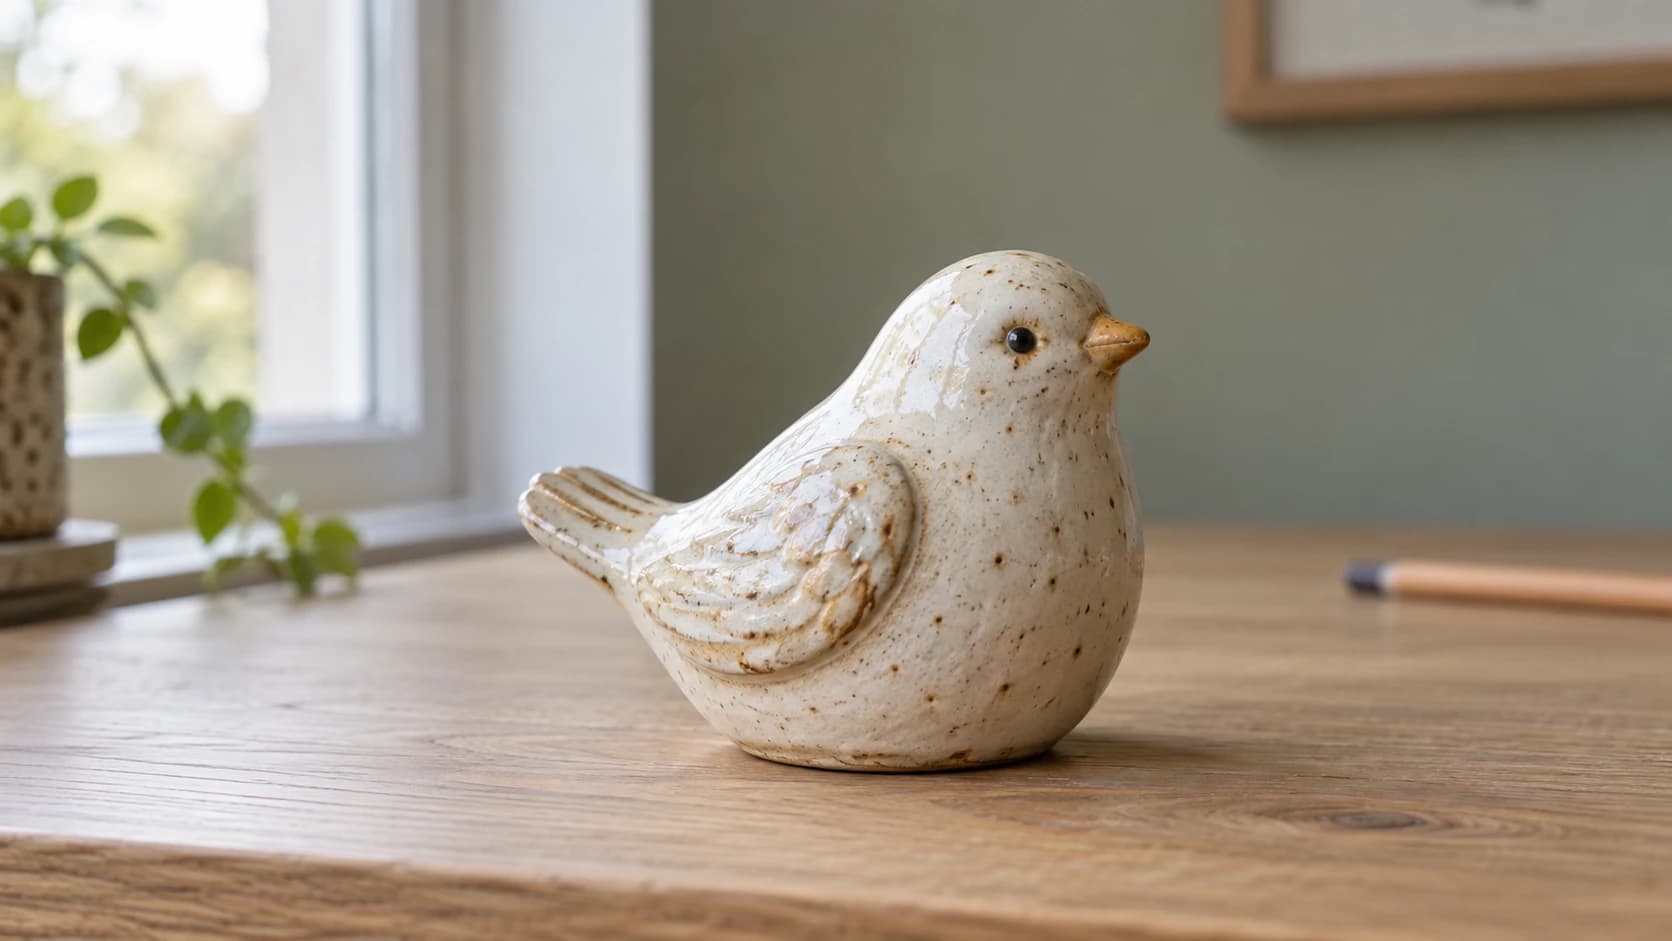
A customer sends you the image they want on a sign. It is 400 pixels wide, pulled off a website, with a cluttered background and their cat halfway into the frame. You cannot cut or engrave that. Half the work of any custom job is fixing the source image before you ever get to the fun part, and doing it in a full desktop editor is slow.
PixelPrep handles the two most common fixes with AI: it removes backgrounds to give you a clean cutout, and it upscales small or soft images to 2x or 4x so there is enough detail to work with. You use both through the website, and processing runs on the server. Processing time depends on the image and workload.
The Two Jobs PixelPrep Does
Nearly every problem image needs one of two things, and often both.
| Operation | What it does | When you need it |
|---|---|---|
| Remove Background | AI cutout with a transparent background | Isolating a subject, logo, or product from clutter |
| Upscale | AI enlargement to 2x or 4x | Fixing small, blurry, or low-resolution source images |
You can also chain them: remove the background first, then upscale the clean cutout to enlarge just the part you kept.
PRINT. CUT. CARVE.
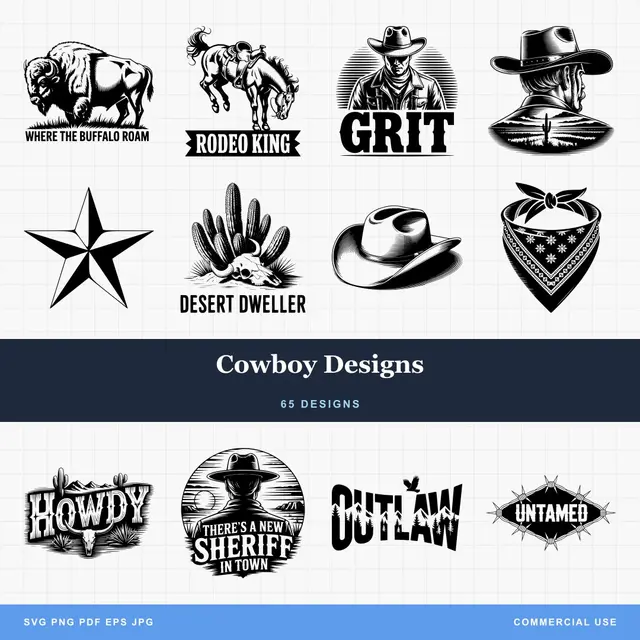
- Multiple formats (SVG, DXF, PNG)
- Machine-tested designs
- Commercial licenses
Sponsored by PrintCutCarve.com
Clean Cutouts, Ready to Use
Background removal gives you the subject on a transparent background as a PNG. That transparency is what makes it useful downstream:
- Print-then-cut on a cutting machine, where the machine needs to know exactly where the subject ends
- Sublimation mockups and transfers, where a stray background would print as a box around your design
- Layered projects, where you want just the subject to sit over another layer
- Vinyl decals, where the cutout defines the shape you will weed and cut
A clean edge here saves you fighting a messy one later.
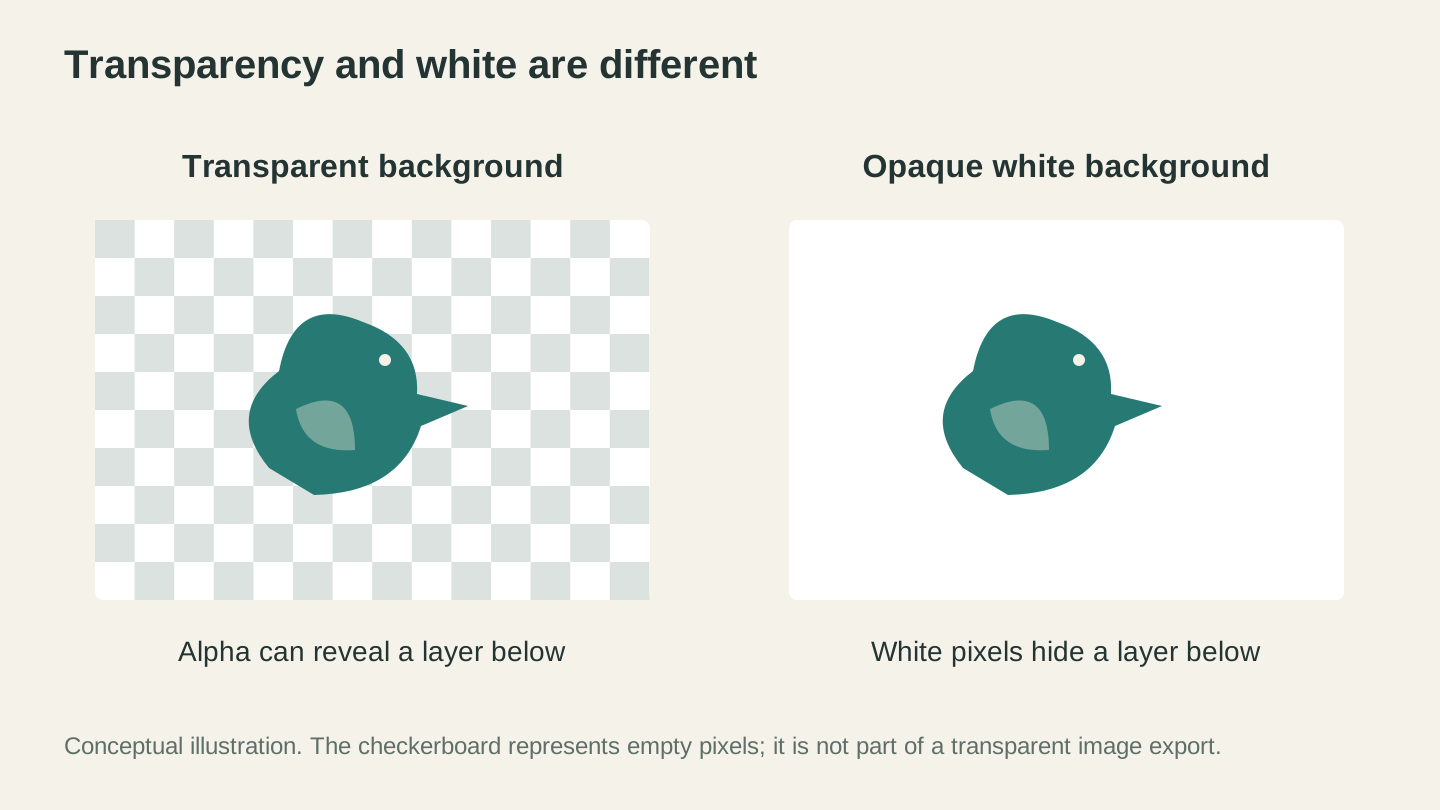
White pixels and transparent pixels behave differently when an image is placed over another layer. The checkerboard is an editing convention, not part of the exported artwork.
Upscaling, With the Right Mode
Small images fall apart when you enlarge them the ordinary way: you just get bigger blur. AI upscaling reconstructs detail as it enlarges, so a 400-pixel logo can become something you can actually engrave at size.
PixelPrep gives you two modes, and picking the right one matters:
- Photo mode preserves natural texture. Use it for photographs of people, pets, and real-world scenes.
- Art and Logo mode keeps edges crisp and clean. Use it for clipart, line art, logos, and anything with hard edges.
Run a logo through Photo mode and the crisp edges go soft. Run a portrait through Art and Logo mode and the skin looks plasticky. Match the mode to the image and the result is night and day.
Tip
Upscaling a logo for engraving? Use Art and Logo mode, then take the crisp result into MonoTrace to convert it to clean vectors. A sharp, upscaled source traces far better than a tiny blurry one.
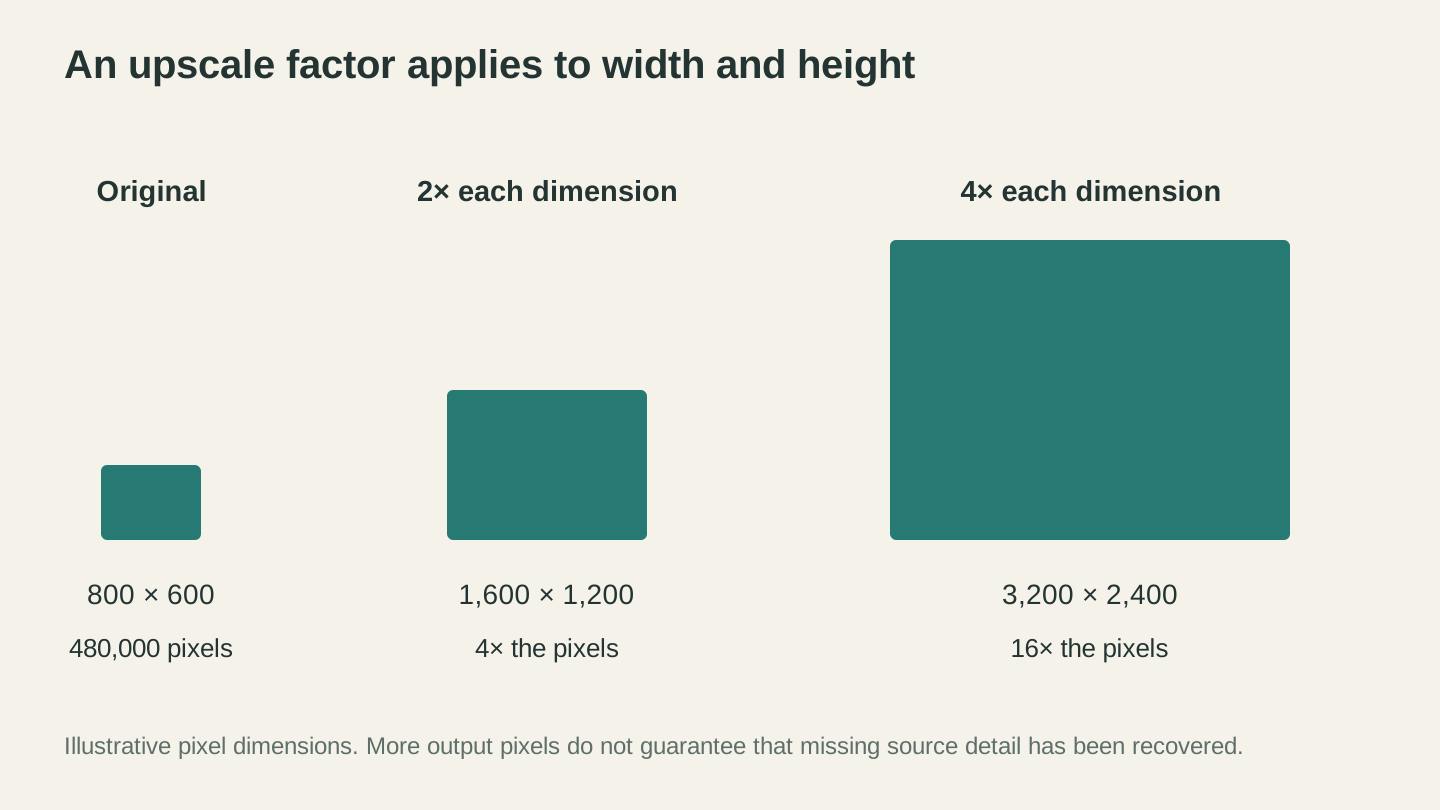
Doubling each dimension produces four times as many pixels; quadrupling each produces sixteen times as many. Extra pixels alone do not prove that the image contains more accurate detail.
What It Costs
PixelPrep is built so background removal costs no credits once you are on a paid plan, with upscaling charged a credit when you actually need to enlarge something.
Info
Background removal is included at no credit cost on any paid Craftgineer plan (starting at $4.99 per month). Upscaling costs 1 credit per image, in either mode, at 2x or 4x. So the routine "clean this up" work stays cheap, and you only spend a credit when you actually enlarge something.
Images are processed by fal.ai, an AI inference partner, which is how PixelPrep does the heavy lifting quickly without you installing anything.
A Practical Prep Workflow
PixelPrep is usually the first stop, not the last. Here is how it feeds the rest of your process:
- Start with the messy source. A small logo or a photo with a busy background.
- Remove the background to isolate the subject.
- Upscale the cutout if it is too small to use at your final size.
- Compose in Canvas Pro if you need to add text, shapes, or combine it with other elements.
- Vectorize with MonoTrace or dither with DitherLab, depending on whether you are cutting lines or engraving a photo.
- Cut, engrave, or print.
Where It Pays Off
Pet and portrait engravings. Remove the busy background so the subject engraves clean, then upscale if the photo was small.
Logo work. Turn a tiny website logo into a crisp, enlarged version ready to trace and cut.
Sublimation and print-then-cut. Transparent cutouts drop straight into your mockups and cut files with no box around them.
Vinyl decals. A clean cutout defines the decal shape and makes weeding painless.
If you sell custom work, cleaning up customer-supplied images fast is a real competitive edge. Our guide on the best things to sell with a laser engraver has more on turning these projects into products.
Go Clean Up an Image
Open PixelPrep, drop in that messy customer photo, and remove the background. Then try a 2x upscale in the right mode. Once the fiddly cleanup step takes ten seconds instead of ten minutes, you will run every source image through it out of habit.
Happy making.
Related Tools
PixelPrep
Remove image backgrounds or upscale images at the available enlargement settings.
Background removal requires a plan; upscaling uses credits
Canvas Pro
Edit images with layers, brushes, shapes, text, and selection tools. Export PNG, JPEG, or WebP.
MonoTrace
Turn photos and artwork into SVG outlines for free, with an optional sketch mode.
Ready to try these tools?
Sign up free, no credit card required. Free tools available immediately.
Start Free