
How to Make Custom Keychains and Name Tags (3D Print, Laser, or CNC)
Personalized keychains and name tags are the bread and butter of a maker side hustle. Bag tags for kids, name tags for a team, pet tags, cabin markers, luggage tags for a whole family reunion. They are quick, cheap to make, and people happily pay for their own name on something. The catch is the design work. Laying out text so it fits, keeping thin letters from snapping off, adding a hole in the right spot, and getting it export-ready is fiddly if you do it from scratch every time.
KeyTag takes that whole job off your plate. Type a name, pick a font and maybe an icon, watch it build in a live 3D preview, and download files ready to 3D print, laser cut, or CNC carve.
Design It, See It in 3D
The core of KeyTag is simple: type a name and it appears as a solid, connected tag you can spin around in 3D right in the browser. That live preview matters, because it shows you exactly what will come off the machine before you commit any material.
You control the essentials:
- Font across Display, Sans, Serif, Script, and Handwriting families, or upload your own
- Size, letter spacing, and line spacing to fit the name onto the tag
- Thicken to beef up thin strokes so they survive cutting and handling
- Alignment and capitalization (UPPER, lower, Title, or as typed)
PRINT. CUT. CARVE.
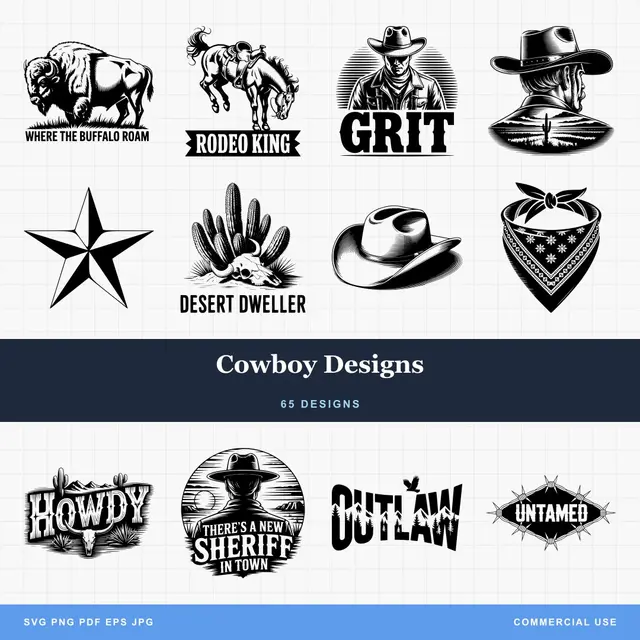
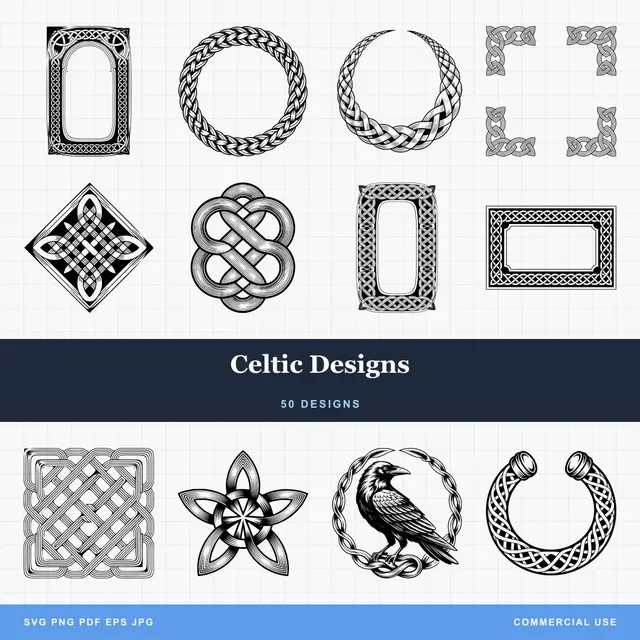
- Multiple formats (SVG, DXF, PNG)
- Machine-tested designs
- Commercial licenses
Sponsored by PrintCutCarve.com
The Outline Holds Everything Together
A name tag is only useful if it comes off the machine as one piece. Loose letters that fall apart are the number one frustration with text-based tags. KeyTag solves this with the outline.
Turn on the outline and the tag gets a solid border that connects every letter into a single object. Set the corner rounding on that outline for a softer, more finished look. This is what turns a row of separate letters into a real, durable tag.
Warning
KeyTag warns you when parts of your design are not connected and would come out as separate pieces. If you see that warning, reduce the line spacing or increase the outline so everything links up. Fix it in the preview, not after a failed cut.
Add a Hole for the Ring
Most tags need a hole for a keyring, a lanyard, or a ball chain. KeyTag builds it in properly rather than leaving you to punch one later.
- Include hole adds it to the design
- Hole diameter sizes it for your hardware (jump ring, split ring, chain)
- Rim thickness keeps enough material around the hole so it does not tear out
- Hole placement puts it in any of eight positions around the tag
That rim setting is the one people forget. A hole too close to the edge splits under the weight of a keyring. Give it a solid rim and the tag lasts.
Icons and Emoji
Text is only half the fun. KeyTag has a built-in icon and emoji library so you can drop a symbol next to a name: a paw print for a pet tag, a US state, a bird, a horse, an outdoors or faith-and-heritage icon, and plenty more, plus a full emoji set. You can also upload your own SVG icon.
Tip
If you upload your own icon, use a closed, filled silhouette with no strokes or embedded content. A clean silhouette extrudes into solid geometry cleanly. An outline-only or stroked SVG will not. If you need to convert a logo into a clean silhouette first, NodeCraft can help you tidy up the paths.
Set Thickness and Color for Your Machine
KeyTag separates the base from the text, which gives you control over how it makes:
- Base thickness sets how thick the tag body is.
- Text height sets how far the letters and icons rise (or sit) relative to the base.
- Base color and text and icon color drive multi-color output.
For a 3D print, raised text in a contrasting color prints as a two-tone tag with no painting required. For laser or CNC, the same design gives you the outline to cut and the text to engrave or carve.
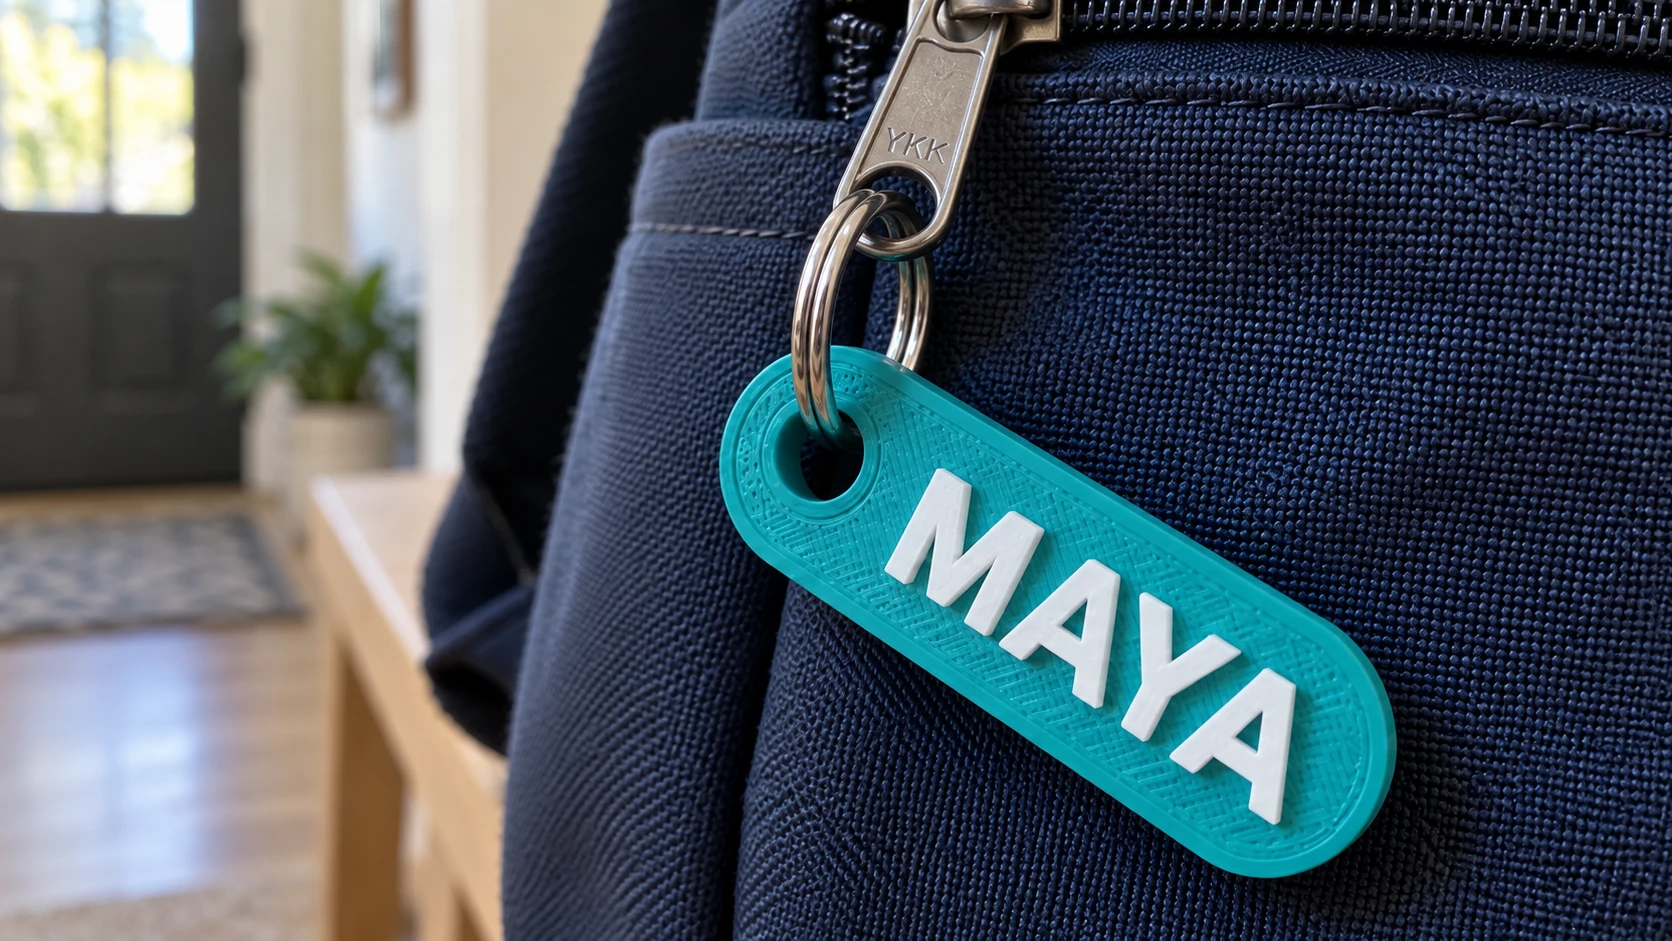
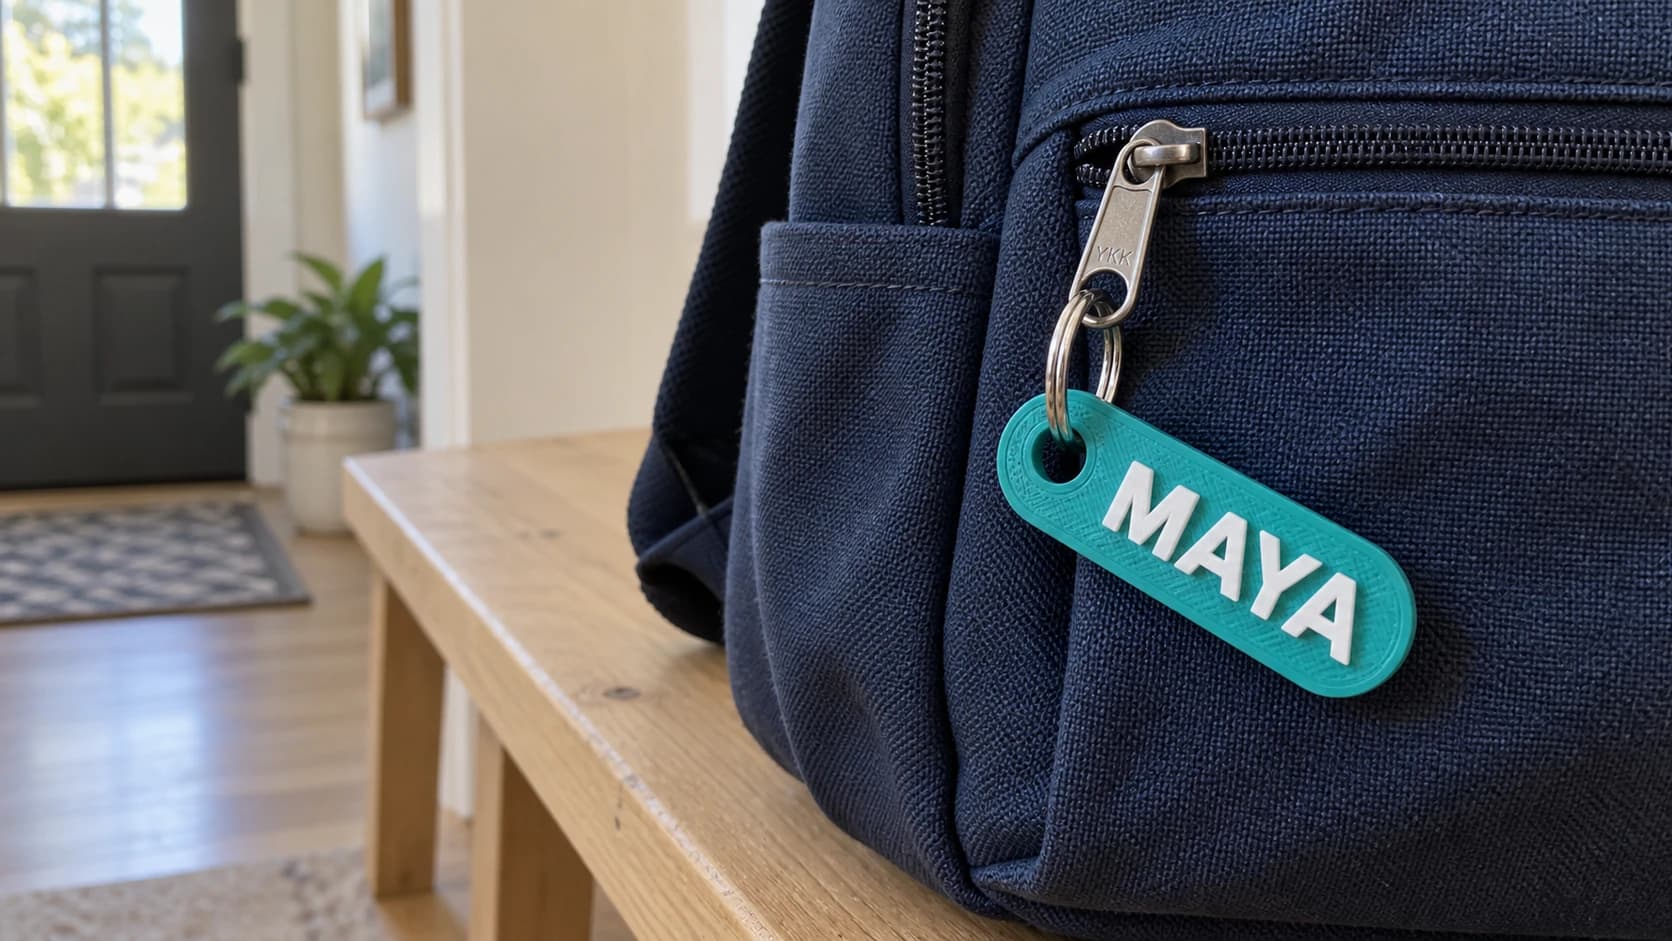
The ring passes through a complete rim of printed material. The raised white letters stay attached to the teal base beneath them.
Download the Print and Cut Files
When the design is right, KeyTag packages the files into a single ZIP ready for your process. The export includes the formats you need for 3D printing, laser cutting, and CNC carving.
Info
Designing and previewing in KeyTag costs 0 credits for signed-in users. Downloading the finished print and cut files needs any paid Craftgineer plan, which starts at $4.99 per month. So you can build and check the whole design, then subscribe when you are ready to produce.
A couple of format notes worth knowing: color travels with the 3MF and SVG files, while STL does not store color, so if you are printing a two-tone tag, use the color-carrying format. And for CNC, remember that inside corners can only be as sharp as your bit radius, so lean on the corner rounding.
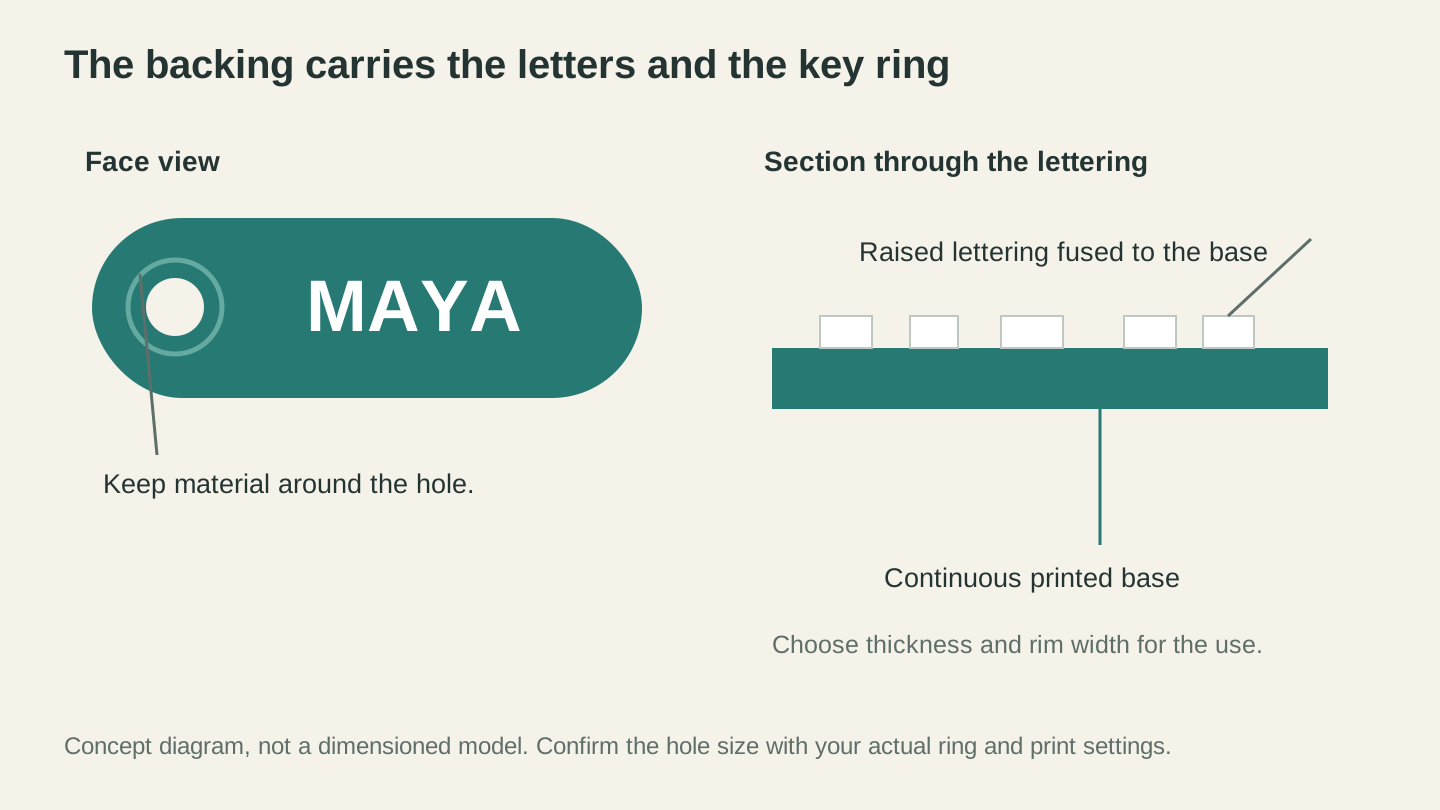
The backing carries both the text and the attachment. Size the hole and surrounding material for the actual ring and the way the tag will be used.
Project and Business Ideas
Kids' bag and bottle tags. Bright colors, a fun font, an icon. Parents buy these in bulk.
Pet ID tags. Name on the front, phone number on the back, a paw or breed icon. A steady seller.
Team and event name tags. A batch with matching styling for a workplace, a wedding party, or a conference.
Luggage tags. Tough enough to survive baggage handling, and personal enough that people actually want one on their bag. Great for family trips and easy to sell in sets.
Cabin, locker, and shelf markers. Around the house, workshop, or classroom.
If you want to turn these into income, our guide on the best things to sell with a laser engraver and the craft fair selling guide cover pricing and display. For product listings, ListingLab can generate titles and descriptions from a photo.
Go Make a Tag
Open KeyTag, type a name, and spin it around in 3D. Try a script font with the outline on, add an icon, and place the hole. It is free to design, so build a few before you decide how you want to make them. The first batch of name tags you hand out (or sell) will not be the last.
Happy making.
Related Tools
Ready to try these tools?
Sign up free, no credit card required. Free tools available immediately.
Start Free